

Almost every dog owner has had the same moment. You open the front door, your dog sees a world of squirrels, delivery drivers and open sky, and in a flash they’re gone. Or it’s something smaller, like a dog that hovers around your ankles in the kitchen while you try to carry a hot pan.
That’s when you realize how useful one little word is. Knowing how to teach a dog to stay is one of the most practical things you can do for your dog’s safety and your own sanity. The good news is that it isn’t hard. It just needs to be taught in the right order, and most people skip a step.
What “Stay” Actually Means to a Dog
Here’s something that trips people up. To you, “stay” means “don’t move until I say so.” To a dog who has never heard it before, it’s just a noise. Dogs don’t understand language the way we do. They learn that a certain sound, in a certain situation, leads to something good.
So the job isn’t to make your dog obey. It’s to build a small, repeatable pattern: I hold this position, my person comes back, and I get rewarded. Once that pattern is solid, you can stretch it out.
Before You Start
You don’t need fancy gear. A few small, soft treats your dog loves, a quiet room and about five minutes will do.
- Treats: Pea-sized and easy to swallow. Use something better than their regular kibble, like small bits of cooked chicken or cheese. If you’re using a lot, take them out of your dog’s daily food so they don’t gain weight.
- A leash or a quiet space: Start indoors with no distractions.
- A solid “sit” or “down”: Stay is a position hold, so your dog needs a position to hold. If you haven’t taught these yet, start with our guide to basic dog commands every owner should teach.
- A release word: This is the part people forget, and it matters more than you think. Pick a word like “okay” or “free” that means “you’re done, you can move now.” Use the same one every time.
The Three Ds: Duration, Distance, Distraction
Professional trainers break stay into three parts, often called the three Ds. The golden rule is to add only one at a time. If you make it harder in two ways at once, your dog will fail, and a dog who fails over and over stops wanting to play the game.
- Duration: how long your dog stays
- Distance: how far away you are
- Distraction: how exciting the environment is
We’ll work through them in that order.
Step 1: Get Your Dog Into Position
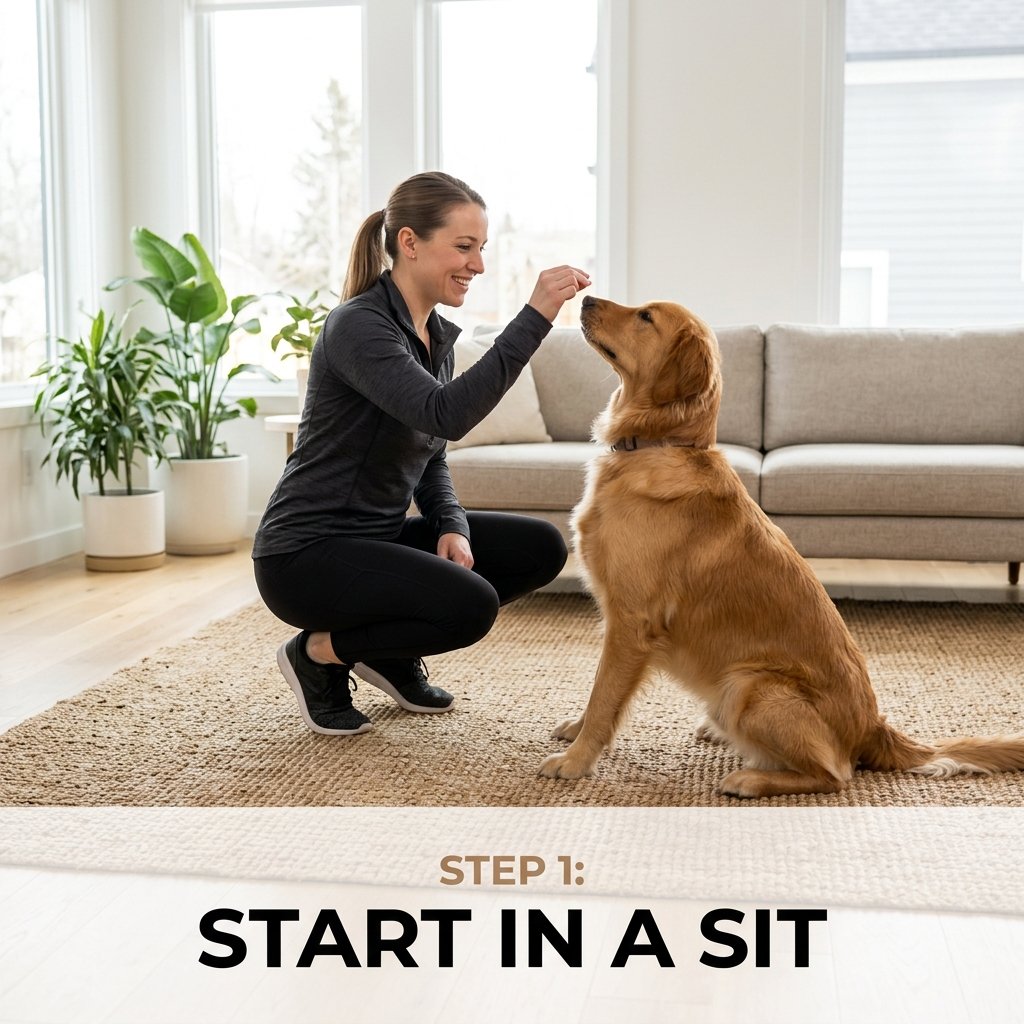
Ask for a sit (or down, whichever your dog finds easier to hold). Reward it. That’s it for now. You want your dog relaxed and thinking, “this game pays off.”
Step 2: Build Duration (Start With One Second)
This is where most people go wrong, because they try to do too much too fast. Your first goal is a stay that lasts one second.
- Ask your dog to sit.
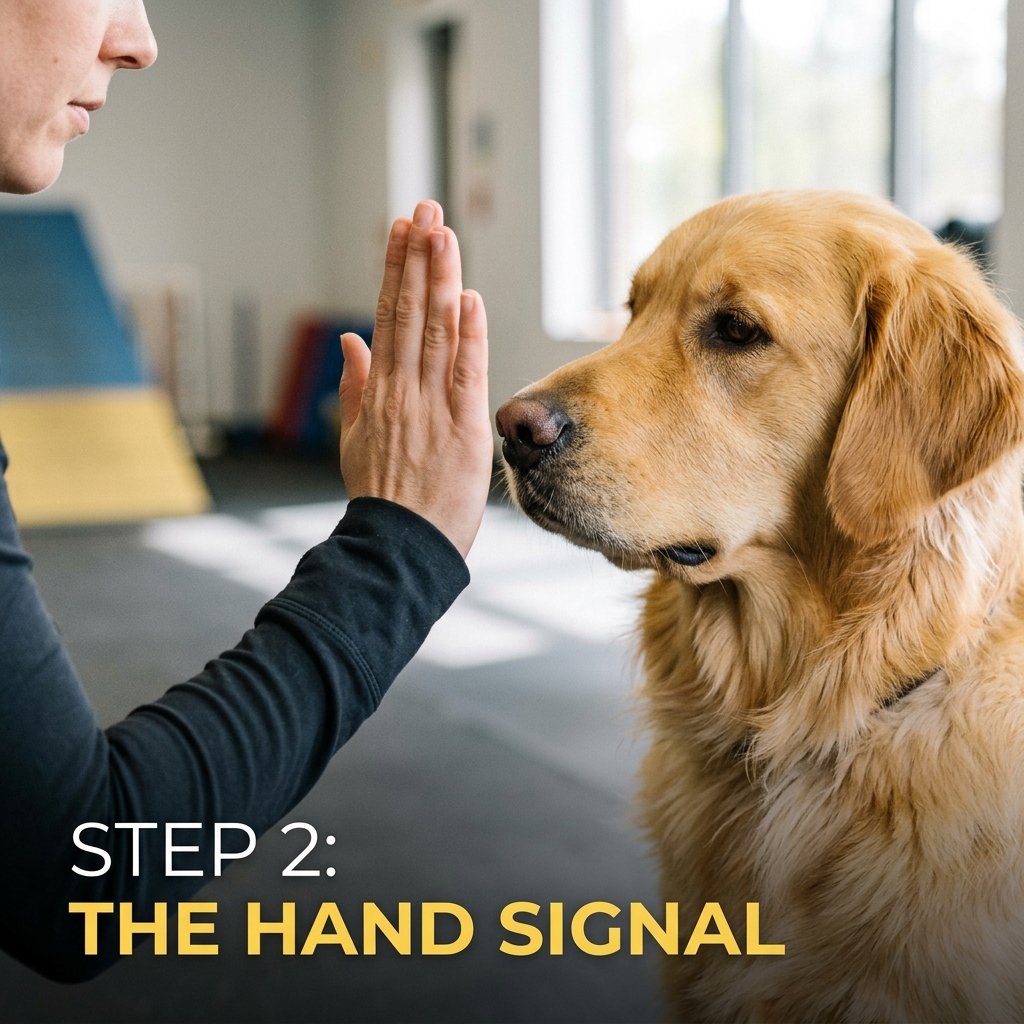
- Say “stay” in a calm, friendly voice and hold your palm out flat, like a traffic cop.
- Count to one. While your dog is still in position, say a marker word like “yes” and give a treat right where they’re sitting.
- Say your release word (“okay!”) and let them move.
That’s one repetition. Do it five or six times, then take a break. Next time, try two seconds. Then three. Then five. If your dog gets up, don’t scold. Just reset, lower the difficulty and try again. A good target is about an 80 percent success rate. If your dog is getting it wrong more than one time in five, you’re moving too fast.
Aim for a stay of 20 to 30 seconds before you add anything else.
Step 3: Add the Hand Signal
Dogs are naturally better at reading body language than words. A flat palm held toward your dog’s face is a clear, visual cue that’s easy to understand. Use the signal and the word together at first. Many dogs learn the hand signal first and the word second, which is completely normal, and it often works better in noisy places where your dog can’t hear you.
Step 4: Add Distance
Once your dog can hold a stay for 20 seconds or so with you standing right in front of them, it’s time to take a step away.
- Ask for the stay, then take one step back.
- Step right back in, mark with “yes,” and treat.
- Release.
Notice that you go back to your dog to reward them. Don’t call your dog to you. If you do, they’ll learn that “stay” ends the second they hear your voice, and they’ll start leaping up in anticipation. Rewarding them where they’re sitting teaches that staying put is what earns the prize.
Build up slowly: one step, two steps, then three. When you add distance, drop your time back down to a couple of seconds. Distance makes everything harder, so you need to be patient and rebuild.
Step 5: Reward Staying in Place
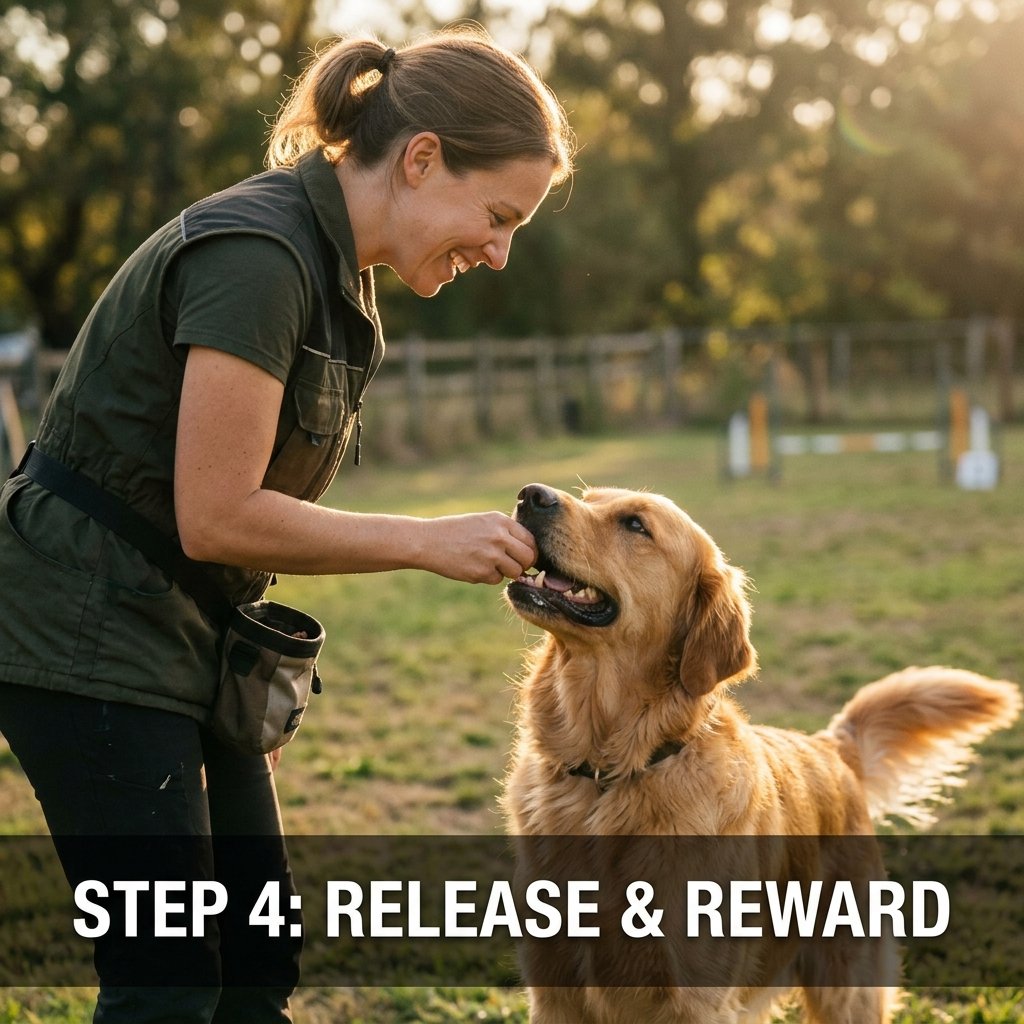
Think of treats as paychecks. Early on, pay often and pay well. As your dog gets reliable, you can pay out less frequently and mix in praise, a pat or a game of fetch as the reward. If you want to understand why reward-based methods work so well, the American Veterinary Society of Animal Behavior has a clear position statement on positive reinforcement training.
Step 6: Add Distractions
This is the real-world test. A dog who stays perfectly in your quiet living room may fall apart the moment someone drops a bit of food or the doorbell rings. That’s not stubbornness. It’s just that you haven’t practiced it there yet.
Introduce distractions gradually, and drop back to easy durations and distances each time:
- Stand on one foot, wave your arms, or toss a toy a short way away
- Walk in a circle around your dog
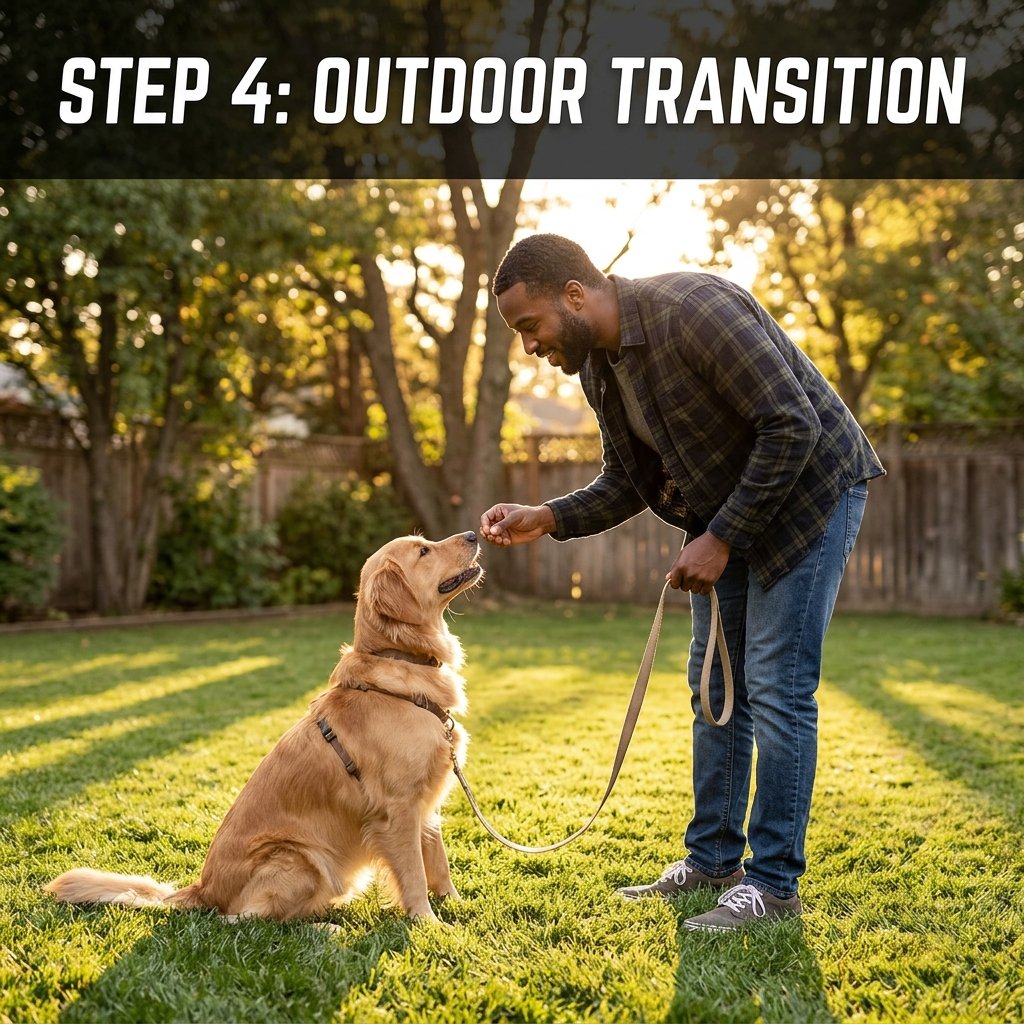
- Practice in the hallway, then the backyard, then a quiet park
- Have a family member walk past
- Eventually, practice near the front door or on walks
Dogs don’t generalize well. A stay in the kitchen is a different skill from a stay at the park, so expect to rebuild the basics in each new place.
Common Mistakes (and Easy Fixes)
Your dog keeps getting up
You’ve probably increased difficulty too fast. Go back to the last level where your dog succeeded and stay there for a few more sessions.
Your dog creeps toward you
Dogs often shuffle forward a little at a time. Reward more often at shorter durations, and don’t reward a dog who has moved. Just calmly reset them back to the starting spot.
Your dog follows you every time you step away
This is very common with puppies and clingy dogs. Make the distance smaller and return quickly. Practice with a leash looped under your foot if needed, so you can gently prevent the follow without any fuss.
Your dog breaks the stay when they hear the release word… and sometimes before
Make sure you always use the release word, every single time. If you ever just wander off without it, you’re teaching your dog that the stay ends whenever they feel like it.
Your dog gets frustrated or whines
Shorten your sessions and end on an easy win. Training should feel like a game. If your dog seems stressed, take a break. Persistent frustration or anxiety could be a sign to explore other issues, and our guide to common dog behavior problems may help you work out what’s going on.
Your dog barks during the stay
Barking while waiting is often excitement or impatience. Our post on how to stop dog barking explains how to handle it without making things worse.
Teaching a Stay to a Puppy
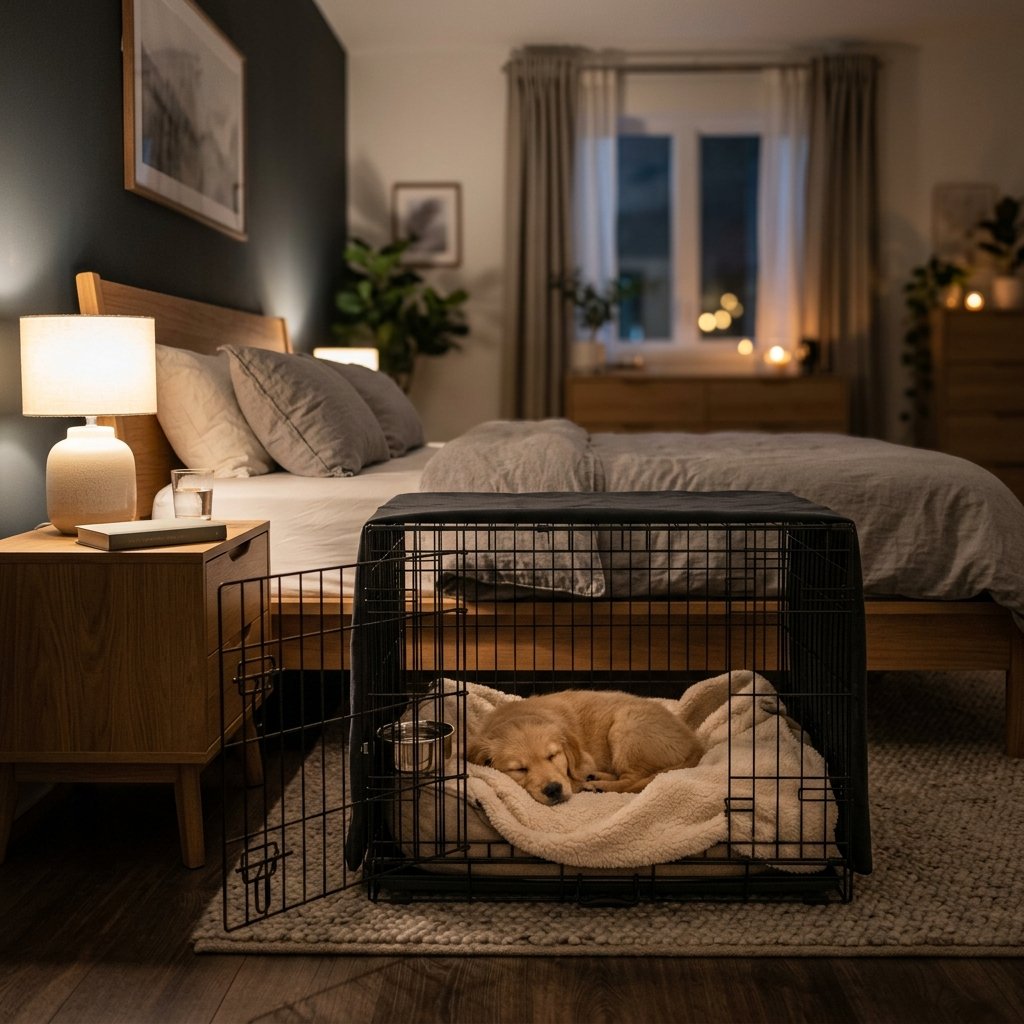
Puppies can absolutely learn stay, but their attention span is about as long as a sneeze. Keep sessions to two or three minutes, aim for just a few seconds at a time, and celebrate small wins. If you’re working with a very young dog, our puppy training guide covers the foundations that make this easier, and the crate training plan for 8-week-old puppies shows how calm waiting can be built into everyday routines.
A Realistic Timeline
Most dogs learn the basic idea of a short stay within a few days of short, daily sessions. A solid stay with distance and distractions can take several weeks to a few months, depending on your dog’s age, personality and how consistent you are. Some breeds are naturally more eager to move than others. Don’t compare your dog to a video of someone else’s perfectly still golden retriever.
When Stay Becomes a Safety Skill
A reliable stay can help in everyday situations: waiting at the door while you bring in groceries, staying put while you open the car, or settling on a mat while guests arrive. The American Kennel Club even includes staying in place as part of its Canine Good Citizen program.
That said, be honest with yourself about limits. No dog’s stay is 100 percent perfect, especially around big temptations. Use a leash, a fence or a closed door when safety really matters, and treat the stay as one layer of protection rather than the only one. For more general guidance on caring for your dog, the ASPCA’s dog care resources are a handy reference.
Quick Answers
How long does it take to teach a dog to stay?
A basic short stay can take a few days of short sessions. A reliable stay with distance and distractions usually takes weeks of regular practice.
What’s the best age to start?
You can begin as early as 8 weeks, as long as you keep it very short and playful. Older dogs can learn too.
Should I use “stay” or “wait”?
Either works. Some trainers use “stay” for staying until you return and release, and “wait” for a short pause that doesn’t need a formal release. What matters is that you’re consistent with whichever word you choose.
Do I need a clicker?
No. A clicker can be handy for precise timing, but a short marker word like “yes” works just as well.
What if my dog just won’t stay?
Go back to one-second stays with easier treats and fewer distractions. If you’re still stuck after a few weeks, a certified positive-reinforcement trainer can spot things that are hard to see on your own.
The Bottom Line
Teaching a dog to stay is really about patience and order. Start with a simple sit, add a release word, build duration first, then distance, then distractions, and always reward your dog in position. Keep sessions short, stay positive and let your dog win more often than not. Do that for a few weeks and you’ll have a dog who can wait calmly, and a lot more freedom at the front door.
If your dog shows signs of fear, aggression or severe anxiety during training, speak with your vet or a qualified behavior professional.

Discussion 0 comments
Share your thoughts — every perspective adds value.